
Post processing in Photoshop - Removing halo artifacts
- Nov 23, 2016
- 3 min read
Often times during post processing RAW files we come across the problem of edge artifacts or 'halos' as they are commonly known, becoming particularly apparent in the JPEG conversion. Halo's may be caused by a number of factors including sharpening, colour, light and contrast adjustments, downsizing for the web and so on. Halo's are typically around 1-2 pixels wide and are more discernible on bright monitors which can accentuate contrasting tones. Figure 1 is an example of how a halo may appear on an image. Note the thin white line between the sky and the falcons head and leading edge of the lower wing (high contrast, hard edge features).
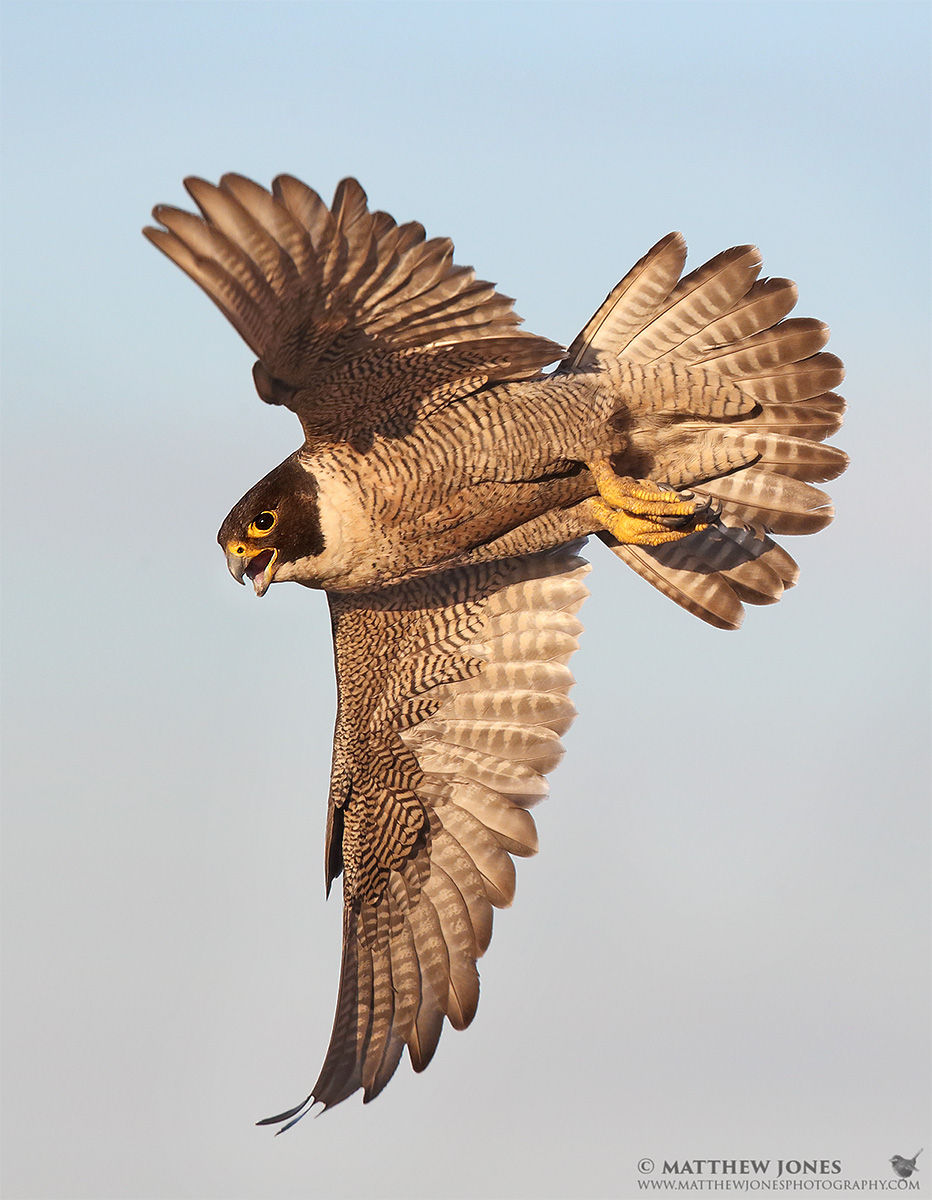
Figure 1. Peregrine Falcon with halo artifact present
In the above example we see a graduated background sky which in the RAW file is very bright, almost white as the exposure was calibrated for the subject. In order to render the colours in the sky truthfully (i.e how they appeared on the day) a selective brightness and contrast adjustment was performed and the subject was sharpened first selectively and then on a second edit non selectively i.e. the whole image was sharpened. Unfortunately these methods resulted in a halo on both occasions. See the close up screen shots in figure 2.


Figure 2. Screen shots showing head and plumage detail with resulting halo
No matter how the image was processed, even with only minor background and sharpening adjustments I was presented with a similar outcome, my conclusion, that sometimes post processing halos are unavoidable, especially where subjects are against high key backgrounds. In these situations a different method is required to essentially remove the halo artifact as a last step in the processing workflow and before printing or posting. Here is how I do it.
Step 1. Complete your processing workflow, save and resize the image to final.
Step 2. Create a layer in Photoshop and change the layer designation from 'normal' to 'darken' in the drop box in the layer window
Step 3. Select the clone stamp tool and set it to around 15 px and 0% hardness
Step 4. Enlarge the image to 300-400%
Step 5. Position the clone stamp on the background adjacent to the halo, hold down the alt button and click the left mouse button, release then re position the clone stamp over the halo
Step 6. Left click the mouse button and holding it down drag the clone stamp over the halo and watch it disappear
Step 7. Continue this technique until the halo has been removed or reduced to an acceptable level
Note: You may need to adjust the opacity down from 100% to fine tune the output.
Now when we zoom in on our image we see a magical transformation - no more halo (Figure 3.)


Figure 3: Screen shots showing head and plumage detail without halo
We can now rethink our workflow with the confidence that using the no-more-halo technique will give us the freedom to render our scene truthfully and even extend our artistic licence which works particularly well with landscapes. Figure 4 is the final image of the falcon which I can only hope does justice to this magnificent bird.

Figure 4: Peregrine Falcon without the halo artifact
Thanks for reading. I hope you found this article useful, if so please return to the BLOG page to subscribe.
Forever wild,
Matthew Jones
Comments